


Recently I was setting up a client’s website and noticed that the “www” version of the domain wasn’t working. The domain name was purchased through Namecheap and was being hosted on Cloudways. While most people don’t type in “www” anymore, I wanted to ensure the site was accessible through this URL just in case.
In this article, I’m going to show you how to set up a “www” version of your website by adding a single DNS record to your Namecheap account.
Here’s the Quick Version
- Login to Namecheap: Go to Namecheap’s login page and log in to your account.
- Select Your Domain: Click on “Domain List” to see your domains. Find and click “Manage” on the domain you want to add the “www” CNAME record to.
- Go to Advanced DNS: In the domain’s dashboard, click on the “Advanced DNS” tab.
- Add the CNAME Record:
- Click “Add New Record”.
- Select “CNAME Record” for Type.
- Set Host to “www”.
- Enter Value as your domain name (e.g., yoursitename.com).
- Set TTL to “1 min”.
- Click the checkmark to save.
- Test the “www” Version: After setup, type your website URL with “www.” to check if it redirects correctly. Note that DNS changes may take up to 48 hours to resolve, though they often take effect sooner.
Why the “www” Version Wasn’t Working
When I began looking into the reason why the “www” version wasn’t working, I quickly discovered that it was due to a missing CNAME record. A CNAME record is a type of DNS record that maps a domain name to another domain name instead of an IP address.
For example, if I wanted “www.takefivedigital.com” to point to the same location as “takefivedigital.com” (which I do), then I would need to use a CNAME record to accomplish this (which I have).
In this scenario, “www.takefivedigital.com” becomes an alias for “takefivedigital.com” and both URLs will take a user to the same website. If, however, there was no CNAME record for the “www” version, the site would fail to load. And this is exactly what was wrong with my client’s website.
When you use a company like Bluehost to manage your DNS records and hosting, they usually include a “www” CNAME record by default. However, being that I’m hosting this website on Cloudways and managing the DNS records separately on Namecheap, I had to add this record manually.
How to Add the CNAME Record to Namecheap
Adding a CNAME record to your Namecheap account is easy and can be done in a few simple steps.
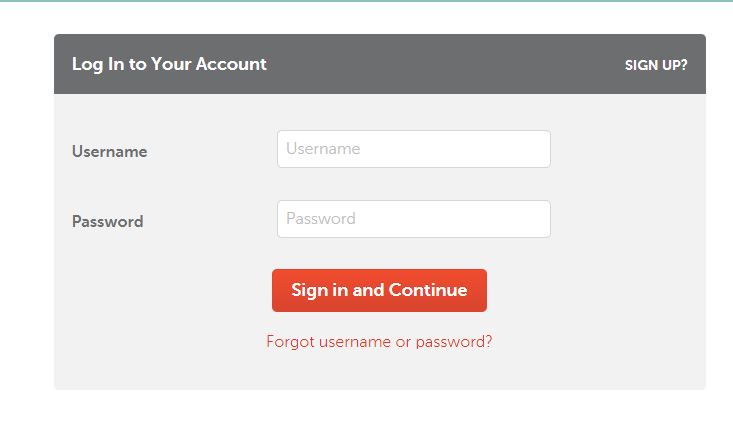
Step 1 – Login to Your Namecheap Account
Head on over to https://www.namecheap.com/myaccount/login/ and login to your account.
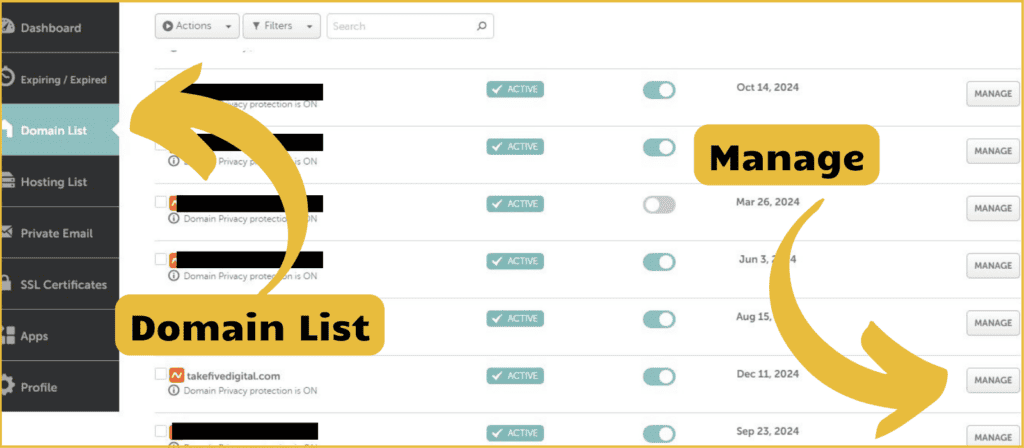
Step 2 – Select Your Domain
Once you’re logged in, click on “Domain List”. This will give you a list of the domains on your Namecheap account. Find the one that you want to add the “www” CNAME record to and click “Manage”.
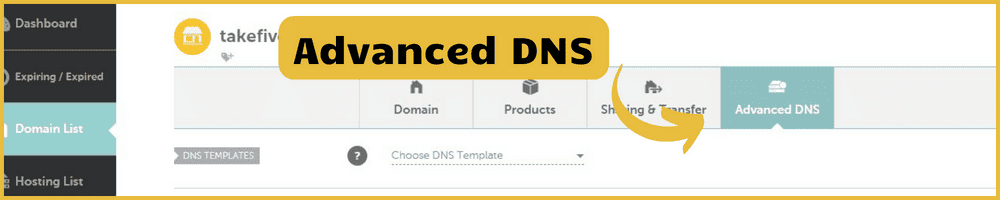
Step 3 – Advanced DNS
After you’ve clicked “Manage”, you’ll be brought to the dashboard of the particular domain name you’ve chosen. From here you’ll need to click on the “Advanced DNS” tab.
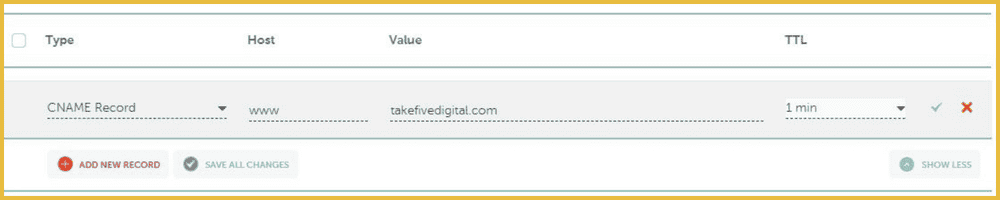
Step 4 – Add the CNAME Record
Once you’re in the “Advanced DNS” section, you’ll need to add the CNAME Record. Begin by clicking “Add New Record” and then enter the following information:
- Type – CNAME Record
- Host – www
- Value – yoursitename.com (in this exact format)
- TTL – 1 min
Click the checkmark to save your changes and you’re all set!
If for whatever reason you can’t add a CNAME record, you can still add a “www” version to your domain by adding an A record instead. To do so you would simply change the type to “A” and the “Value” to the IP address of your server. Both methods will accomplish the same thing.
Testing the “www” Version
To make sure the “www” version of your domain is working simply type in the URL of your website with “www.” in front of it. It should take you to the homepage of your website. If it doesn’t, you may just need to give it a few days as DNS records can take up to 48 hours to resolve. In most cases, however, these changes tend to go into effect pretty quickly.
Final Thoughts
As you can see, adding a “www” version to your Namecheap domain is quick and easy. In less than 5 minutes time you can have this issue resolved and be on your way to fixing your next DNS issue! If you have any questions feel free to reach out or comment below.

